Getting Started with Xircuits
Welcome to Xircuits! This tutorial will walk you through installing Xircuits, starting it, opening and modifying a workflow, and finally running it in JupyterLab.
Installation
Before you begin, ensure you have Python 3.8 or later installed on your machine. It's recommended to use a virtual environment to keep your dependencies isolated. Follow these steps to install Xircuits:
Set up your virtual environment: Open your terminal and create a virtual environment. You can do this with the following commands:
python -m venv venv
source venv/bin/activate  # On Windows, use `venv\Scripts\activate`
Install Xircuits: With your virtual environment activated, install Xircuits using pip:
pip install xircuits
This command will download and install all the necessary packages for Xircuits.
Launching Xircuits
After installing Xircuits, you need to launch it to start building workflows.
Start Xircuits: Run the following command in your terminal:
xircuits
This command will launch the Xircuits interface, where you can build and manage your workflows.
Running a Xircuits Workflow
In Xircuits, you'll be working with pipelines that we call workflows. They are files with the .xircuits extension.
Open an Example File
To get started with a simple workflow, let's open a pre-existing example file:
- Navigate to Examples: In the Xircuits interface, use the file browser to navigate to the
xai_components/xai_template/directory. - Select an Example: Open the
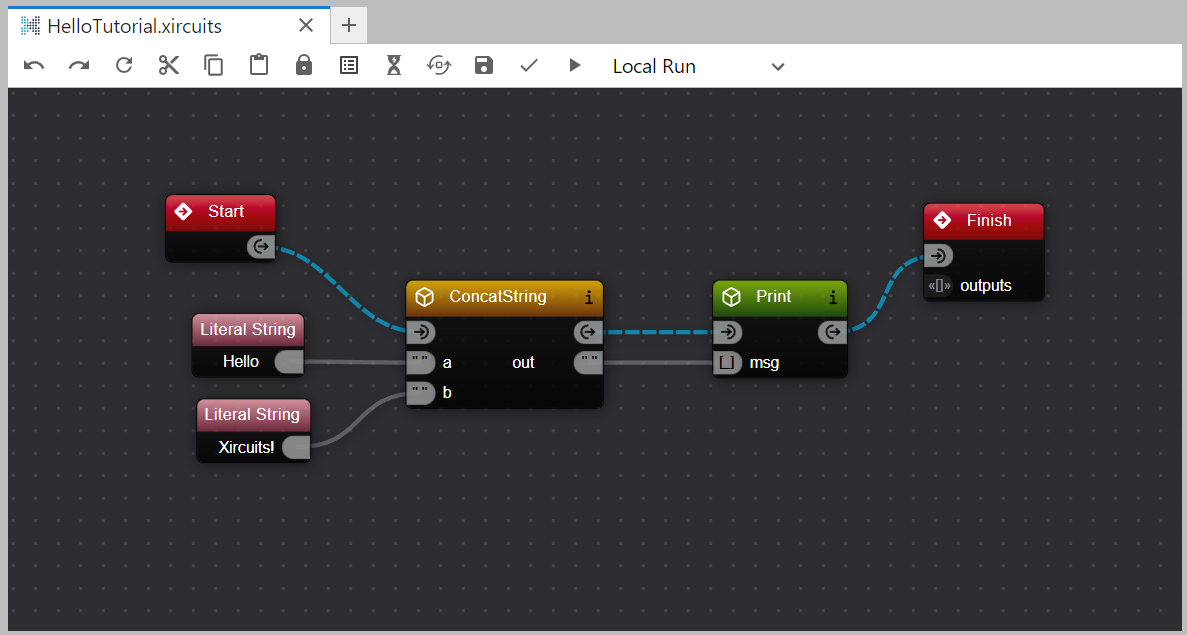
HelloTutorial.xircuitsfile. This simple workflow demonstrates how to concatenate strings and print the result.
Some component libraries have default examples for you to start with. You can open them using the ... context menu when you expand a library, then selecting Show Example.
Understand the Workflow Logic
Once you open a .xircuits file, you will see a visual representation of your workflow. Here's what you need to know:
Workflow Sequence: A typical workflow progresses from the
Startnode to theFinishnode. You can have an infinite number of nodes between Start and Finish, which are connected by a blue flowing link which indicates the sequence of execution.Nodes and Links: Nodes represent components within your workflow and are connected by links. There are two common types of nodes:
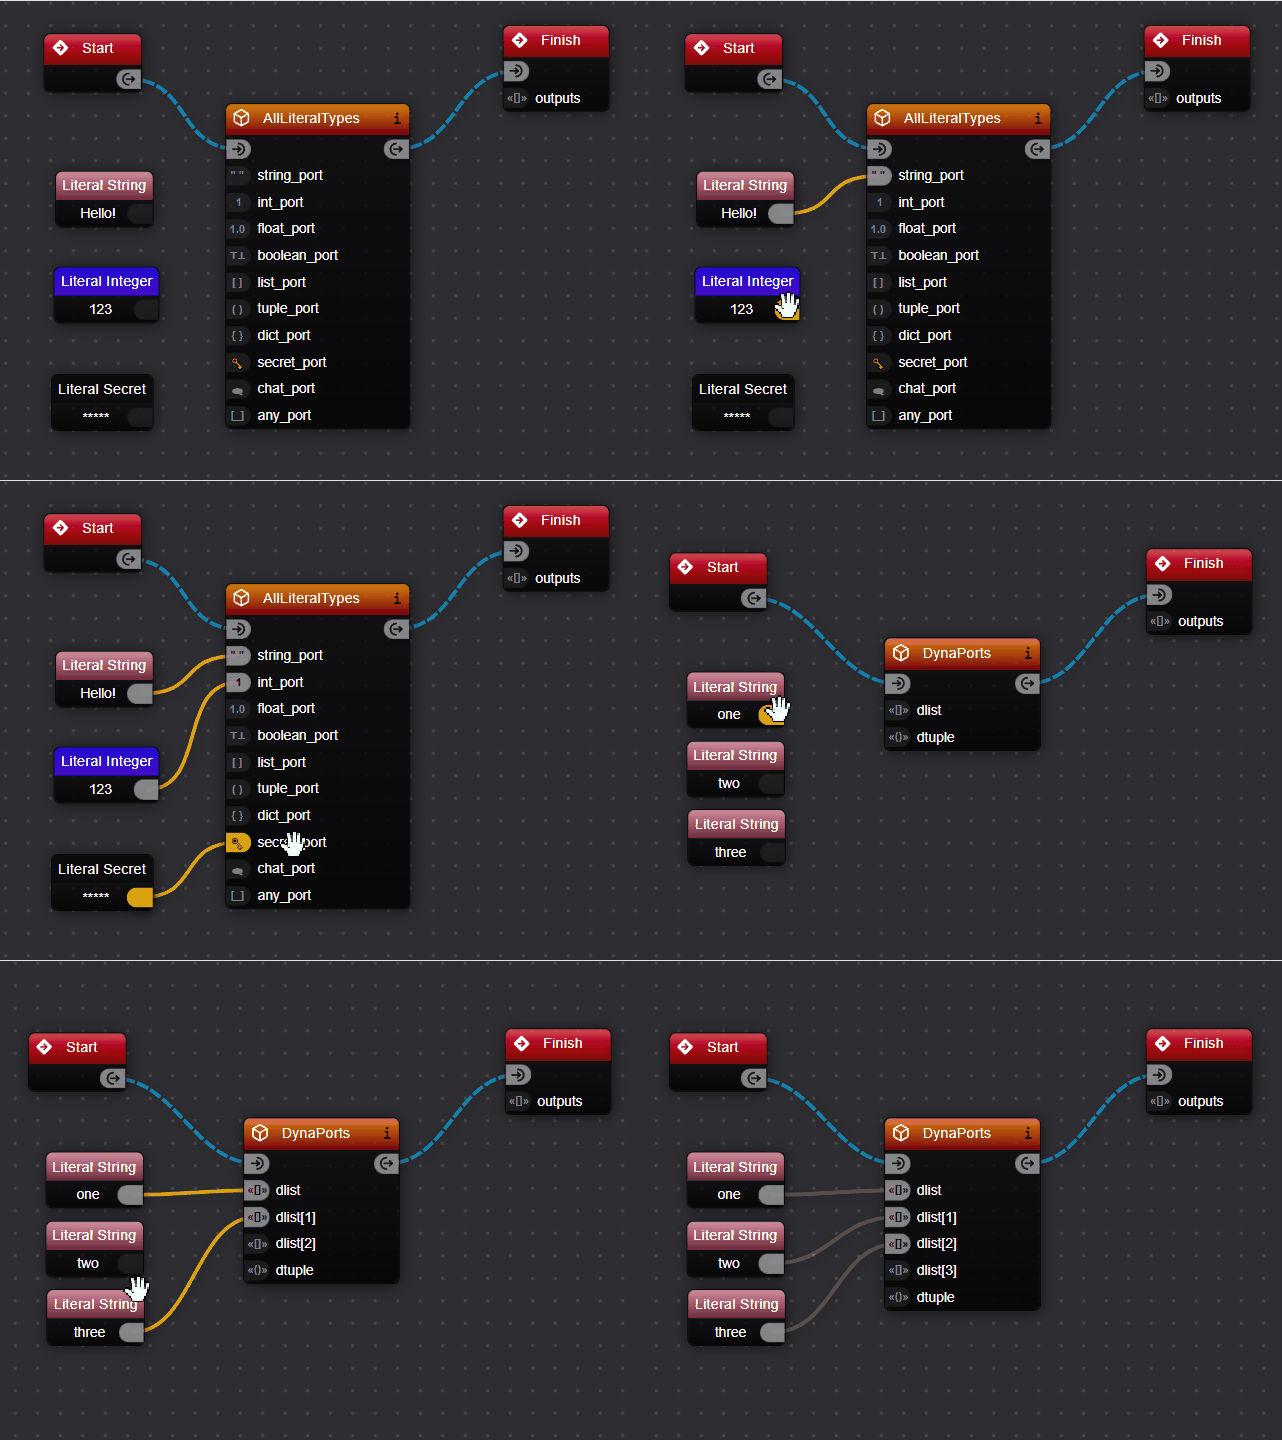
Component Nodes: These nodes perform actions or tasks within your workflow. They have flow ports at the top to manage the execution flow, with at least one flow inPort and outPort. The flow links connecting these ports are blue and flowing, indicating the execution sequence of the workflow.
Preview

Component Nodes Parameter Nodes: These nodes supply values to the component nodes, influencing their behavior. They do not have icons and are connected to the component nodes via solid gray links. You can edit the values of parameter nodes by double-clicking on them.
Preview

Parameter Nodes
HelloTutorial Workflow: In this example, you'll see four main components:
Start: The beginning of the workflowConcatString: Combines two stringsPrint: Outputs the resultFinish: Marks the end of the workflow
There are also two Literal components connected to ConcatString, providing the strings "Hello " and "Xircuits!" to be concatenated.

Modifying the Workflow
You may want to customize workflows to suit your specific needs. Xircuits makes it easy to update workflows by adjusting the parameter components.
Editing Component Parameters
To modify a component's behavior:
- Double-Click to Edit: Simply double-click on any parameter components to open its parameter editor.
- Adjust Values: Change the values as needed.
- Apply Changes: Press
Enterto update the node's behavior in the workflow.
The updated values should be reflected on the canvas as well.
Let's modify the HelloTutorial workflow:
- Locate a Literal Component: Find one of the Literal components connected to the ConcatString node. It should contain either "Hello " or "Xircuits!".
- Edit the Literal: Double-click on the Literal component you want to change.
- Update the Value: Replace the existing text with a greeting or name of your choice. For example, you could change "Hello " to "Greetings, " or "Xircuits!" to your name.
- Apply Changes: Press
Enterto update the component's value.
This modification will change the output of your workflow when you run it.
Compile and Run
Once you're happy with the workflow, you need to compile and run it:
- Save & Compile: Click 'Save' to save your workflow.
- Compile the Workflow: Click 'Compile' to generate a Python script with the same name as your
.xircuitsfile. - Run the Workflow: Select the Python kernel to execute the workflow.
You should see output indicating the workflow is running, including the execution steps and results. For the HelloTutorial workflow, you'll see something like this:
======================================
__   __  ___                _ _
\ \  \ \/ (_)_ __ ___ _   _(_) |_ ___
 \ \  \  /| | '__/ __| | | | | __/ __|
 / /  /  \| | | | (__| |_| | | |_\__ \
/_/  /_/\_\_|_|  \___|\__,_|_|\__|___/

======================================

Xircuits is running...


Executing: HelloTutorial

Executing: ConcatString

Executing: Print
Hello Xircuits!

Finished Executing
Congratulations on running your first Xircuits workflow! You have learned how to install Xircuits, launch it, open a prebuilt Xircuits workflow, modify and execute it.
You can explore other example workflows to see how things are done in Xircuits. Once you're ready, we'll move on to the next step - creating your own visual workflow from scratch.